14
15
WING
SPAN
AUGUST
AUGUST
WING
SPAN
MAAALogo.
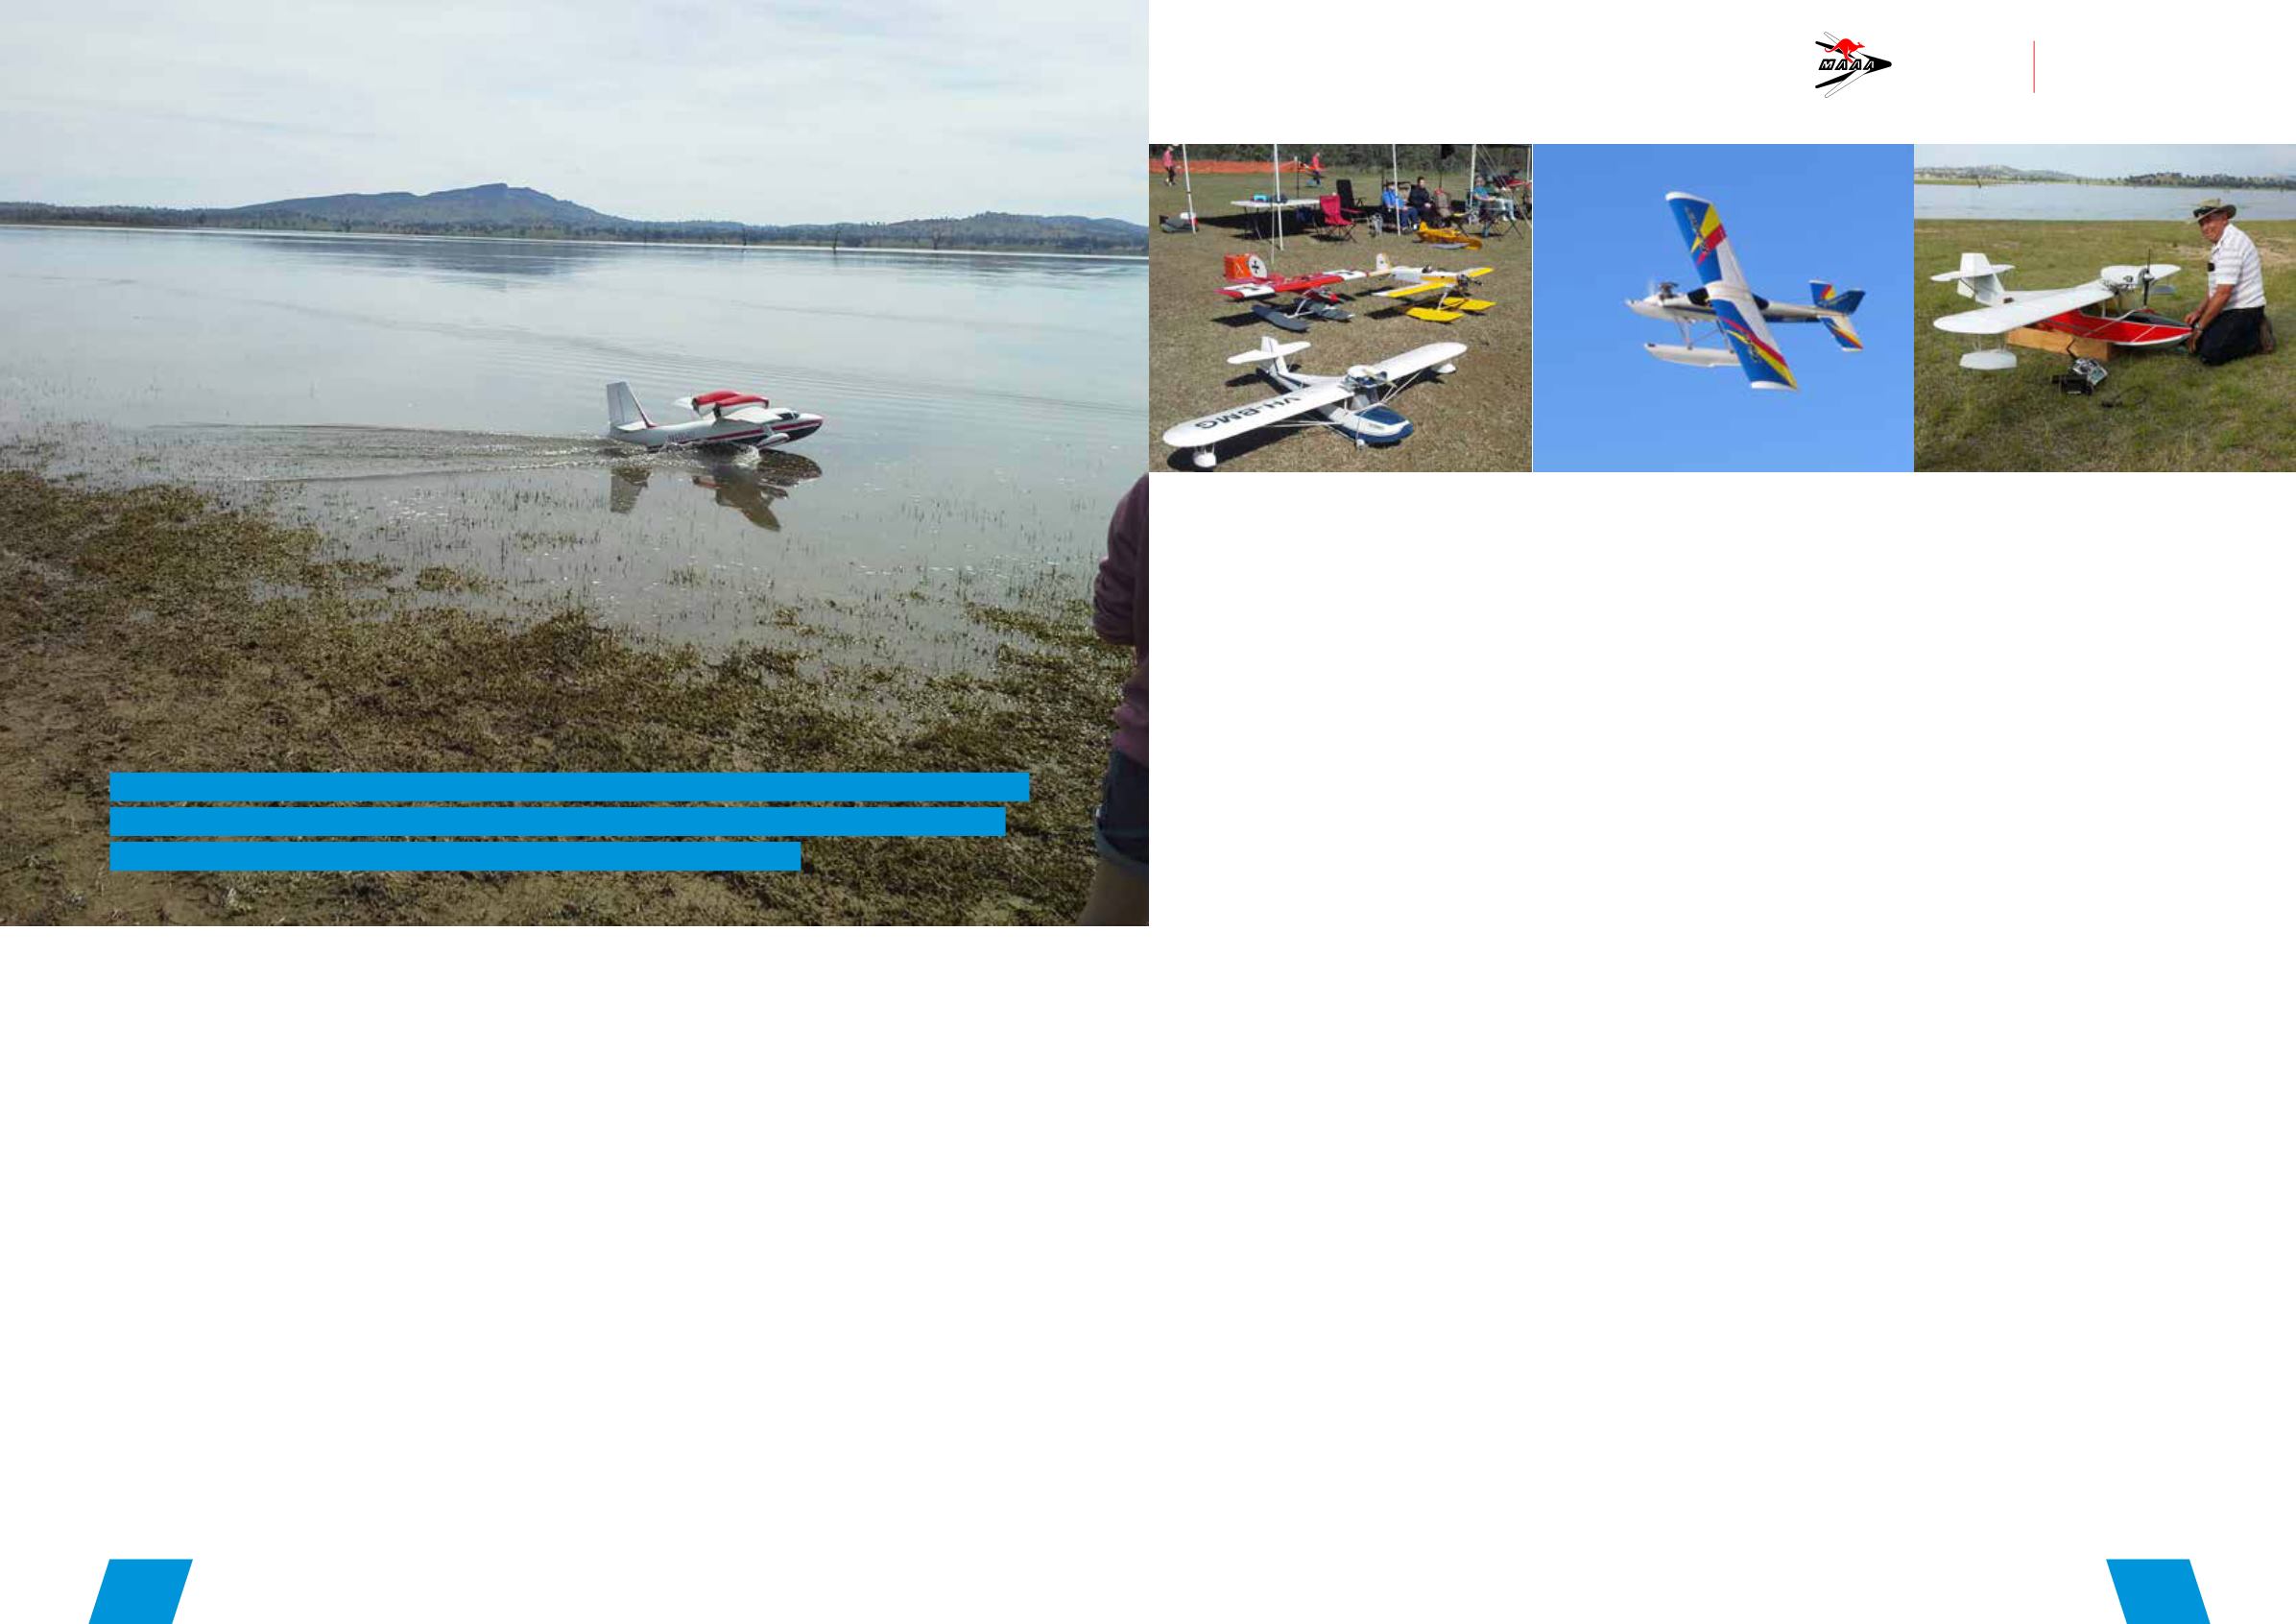
flight school:
the
thrill of float planes!
WAYNE MILLER, A MEMBER OF THE NOARLUNGA MODEL AERO SPORTS CLUB IN ADELAIDE
AND A KEEN FLOAT PLANE PILOT, HAS PROVIDED SOME TIPS ON AIRCRAFT CHOICE AND
SET-UP FOR FLOAT PLANES BASED ON HIS PERSONAL EXPERIENCE..
In the last edition of Wingspan
Wayne shared some tips on
choosing a suitable float plane.
Here’s Part Two of his advice.
Your first float plane
My recommendation is not to build
your first float plane, or floats.
It may be something you could
consider when you know float
planes are something you’re really
passionate about.
There are two basic floats for
planes, flat bottom and V bottom.
Flat bottom
In simple terms, flat bottom
floats are much like water skis.
In fact, you can actually do a
180-degree turn with flat bottom
floats, without stopping. It’s very
impressive to see this stunning
manoeuvre.
Advantages:
Flat bottom floats are easy to make
and very forgiving as they allow a
degree of sideways slip without
“digging into the water” if you get a
bit off-course when taking off.
V bottom
These floats are very similar to
many “V” hulls found on most boats
and watercraft.
Advantages:
V bottoms have a more “scale” look
and straight-line tracking is better.
Disadvantages:
These floats are much more
difficult to build. You will need
to ask around, and investigate
online because finding floats, let
alone different sizes, can be very
difficult.
I recently saw a very good 40 size
fibre-glass (V hull style) set on a
friend’s model. Don’t try to use 40
size floats on a 60 size model, or
vice versa.
How to fit your plane
floats?
Here are a few tips on how I go
about it:
1. Use a dimension of
approximately 25 to 30 per
cent of the wingspan to
separate the floats
2. Remove the wheels. if fitted,
sit the model on the floor, and
place the floats underneath
the wings and see what it
looks like. If it looks good, it
will generally be functional.
If they are too close together
the model will easily tip over
in crosswinds. If they are too
far apart the model will be
difficult to turn on the water,
and it may make the ailerons
ineffective.
What is a good height
from the bottom of the
fuselage to the top of
the floats?
Set the propeller at 12/6 o’clock
and add about 20mm for the tip
of the propeller at 6 o’clock to top
of floats. In other words, 20mm
clearance is all you need between
the floats and the prop.
I ensure that I have a positive
incidence of two to three degrees
between the top of the floats and
the wing. This allows the model
to fly itself off the water because
when the floats are skimming on
the water the wing is already at a
positive flying attitude.
Where do I position
the “step of the float”?
My personal preference is to place
the step somewhere between
vertically in line with the C/G and
up to 10 to 15mm in front of the
C/G.
This generally allows me to move
the floats slightly to keep the
spinner, where possible, behind
the front of the floats.
If I need to make the brackets to
mount the floats to the fuselage,
then I generally use flat aluminium
lengths approximately 10 to 20mm
wide and about 2mm thick, which
is available from most hardware
stores.
This is easy to bend in a vice
and, importantly, is lightweight.
To strengthen the bottom of the
fuselage floor, I epoxy 3 to 5mm
thick ply plates, approximately 70-
100mm long by the full width of the
fuselage.
This allows me to move the
floats, forward or backwards
for adjustments after the first
test flight. If adjustments to the
incidence between the floats and
the plane are required, then I just
use washers as spacers between
the mounting bracket and the
fuselage.
Steering on water
For calm conditions, you can
happily taxi around in the water,
with reasonable control, with one
rudder. Once the wind comes
up, two rudders are definitely
desirable.
Finding a simple system is difficult.
My solution is simply to use fine
steel fishing trace line, run it
through small brass plated eyelets,
so they don’t rust, down to the T
-bar arm on each rudder, and use
a simple rubber band for return
tension.
You can check out “ERNST”
accessories online. They are a
great product, and are made in 40,
60 and 1/4 scale sizes.


